FMD #40

Well, it was bound to happen at some point with the huge amount of photos that I’ve taken. I had a camera or user error and the final photos of the finished clay did not come out. They were lost somehow. So I only have a few quick iPhone photos to share at this point before the mold maker came to start the disassembly.
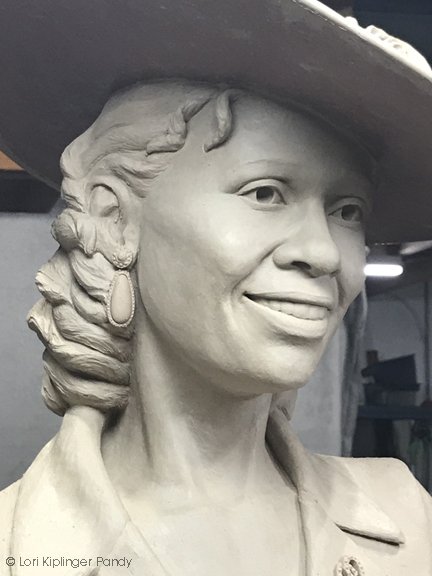

Yes, you read that right. Now that the clay is finished it is time to cut it up. After all the work in clay, the next step is to take the mold of the clay. As the kiln can only take a 24” section at a time, the sculpture will be dissected into smaller sections. Some of it happens at my studio to facilitate transport and the rest will happen at master mold maker Dan Ochs’ studio in Loveland. This is definitely not for the squeamish! With an expert eye, Dan takes his sawsall and deftly removes the outstretched arm, slicing through clay, foam and armature pipe. He then makes marks, called Registration Marks, on the removed arm and also on her shoulder so that we know for sure how the pieces go back together.


Dan carefully cleans up the edges and removes crumbles caused from the foam cut by the saw.
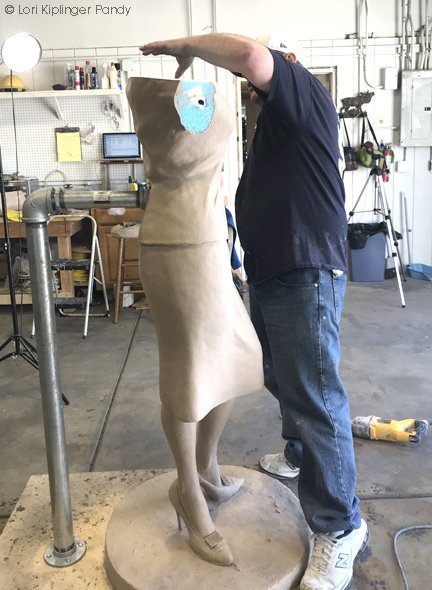
Having carefully measured everything the day before to ensure it would fit, we tilted the remaining body sculpture back onto the support post and gingerly slid it back into Dan’s covered truck. He meticulously secured the sculpture into the truck using several tie-down ratchet straps to be sure it’s wouldn’t shift during the drive. This is one of the huge advantages of using the foam up enlargement - it’s light enough for the two of us to lift into the truck for transport. If I had made a welded steel armature and bulked out some of it with insulation foam it would be twice as heavy. If it had been traditional waterbased clay it could easily be 1000 lbs or more - making transportation much more difficult.


The bust, arm and purse were placed in the back of my SUV carefully supported. Luckily, while sunny, it was a cool morning so no worry of the sun melting the clay on the trip. This is a major concern and transporting clay and wax on a hot sunny day can be disastrous due to melting and warping.


Once at Dan’s studio we unloaded and carried all the pieces into the space and reviewed them for any touchups. One finger did get a bit damaged on the fingertip and there were a few small dings that I repaired on-site as I had brought my clay and tools with me. Next Dan will figure there to dissect the sculpture further for mold-making purposes and begin making the rubber mold and the hard outer shell called the mother mold.