FMD #35
With the foam armature carved back as needed it is time to start applying the oil-based clay. I warm up the clay in pan in a small oven until it melts and then using a chip brush I brush several coats onto the foam to start building up the clay.
Once there is a base of clay covering the foam I warm more clay - this time simply to make it pliable, not to a melted state. I can then add the clay a bit at a time and start to work the forms. This is a time-consuming process and I spend a lot of time on various size of ladders. Very few tools are needed at this point - it is mostly a matter of putting the clay on bit by bit.
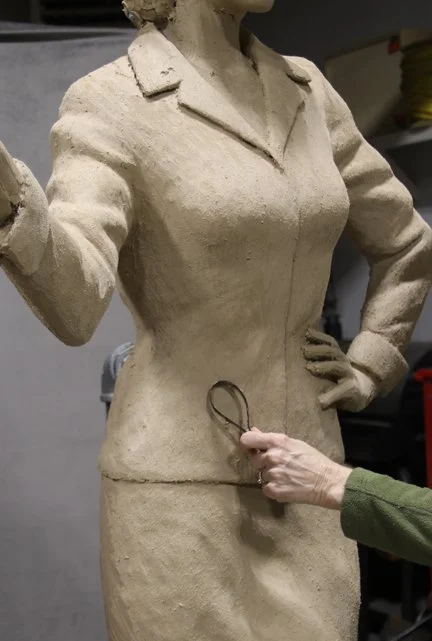
After I get a section fully covered with clay there is a lot of lumpiness that needs to be knocked down. I made a hand-tool by bending a saw blade into a loop making a rake tool that will even out the highs and lows of the clay surface.
Where my hands can’t get into small areas, I apply the warmed clay using wood and metal tools to push it onto the foam.
The hat is not currently on the sculpt and will be worked separately and placed onto her head at various stages. It would simply be in the way at this early stage. I will keep the hat separate and place it on and off through the whole process until the end. The same with the purse - which be put into place later. For now it is going to be long days of adding clay and smoothing out forms before the detailing process begins.


